 Somehow a lump of clay turns into a tile, and tiles into a mural. Here's how tiles are created and pieced together to form a cohesive single work of ceramic art.
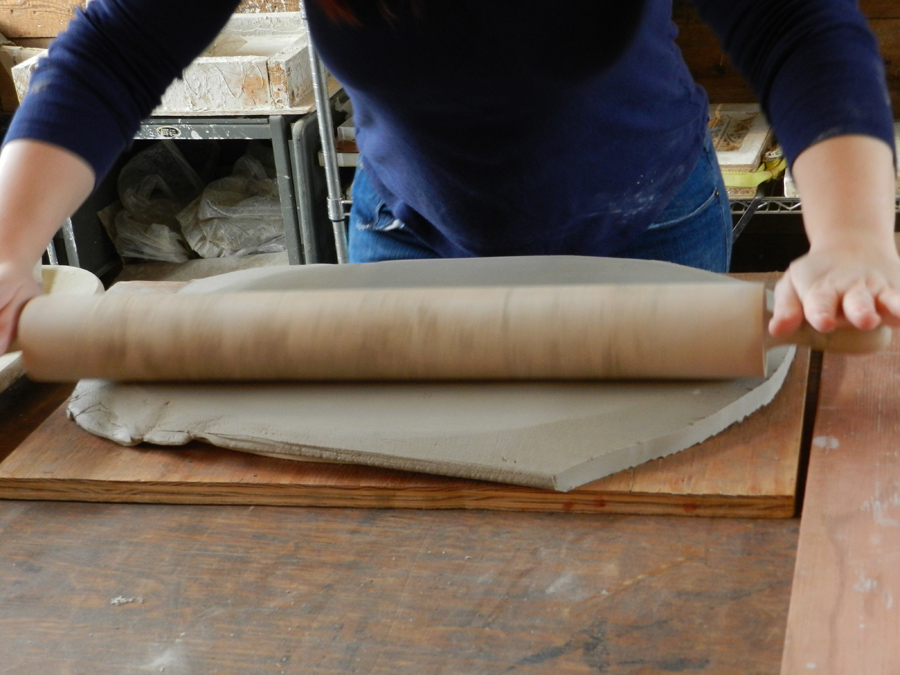
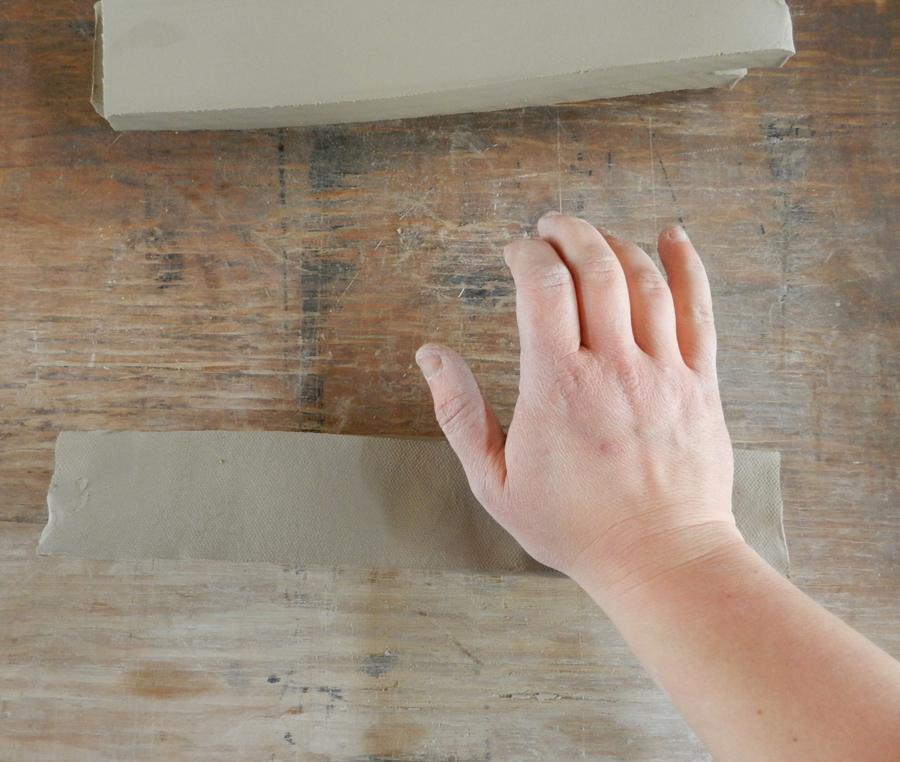
Step 1: Turn clay from a 25-pound chunk into a smooth, even slab
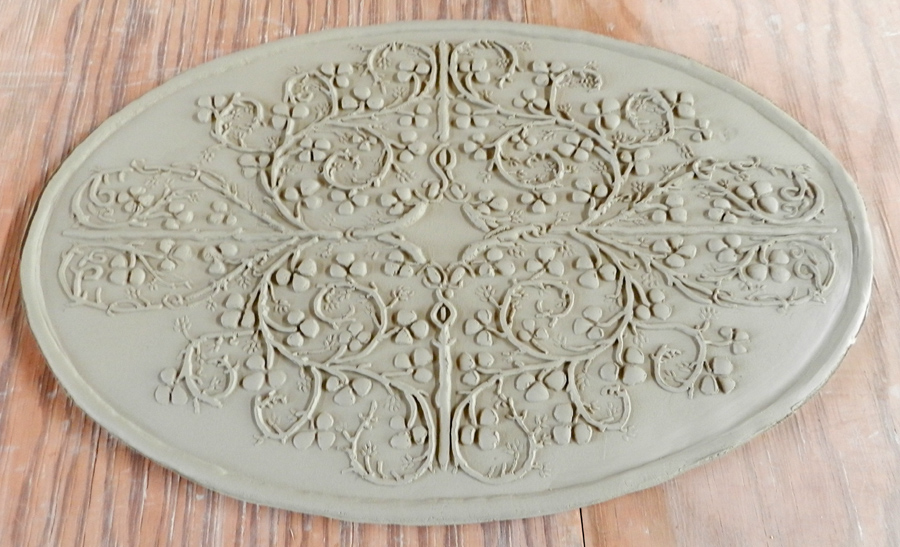
Step 2: Press the clay onto the wood mold. We always HAND PRESS every tile--no mechanical presses involved. Truly handmade tile.
Step 3: Refine the Design
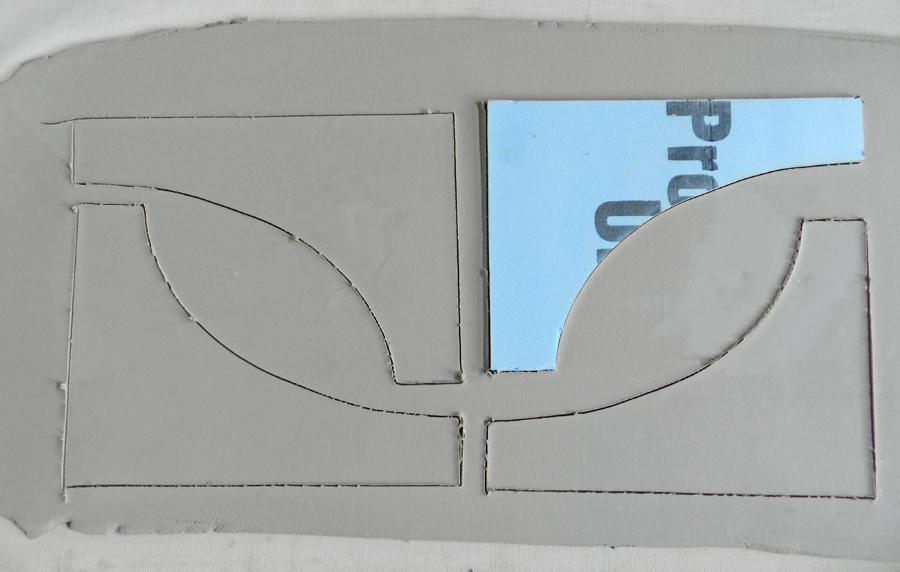
Step 4: Create the surround. The surround is typically a 4-part combination of plain tiles cut to the client's specific size needs.
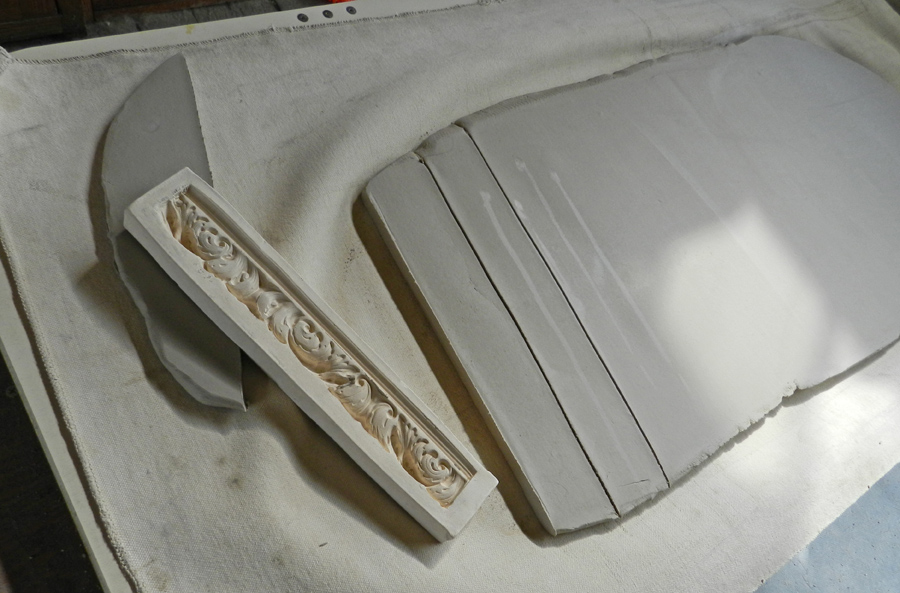
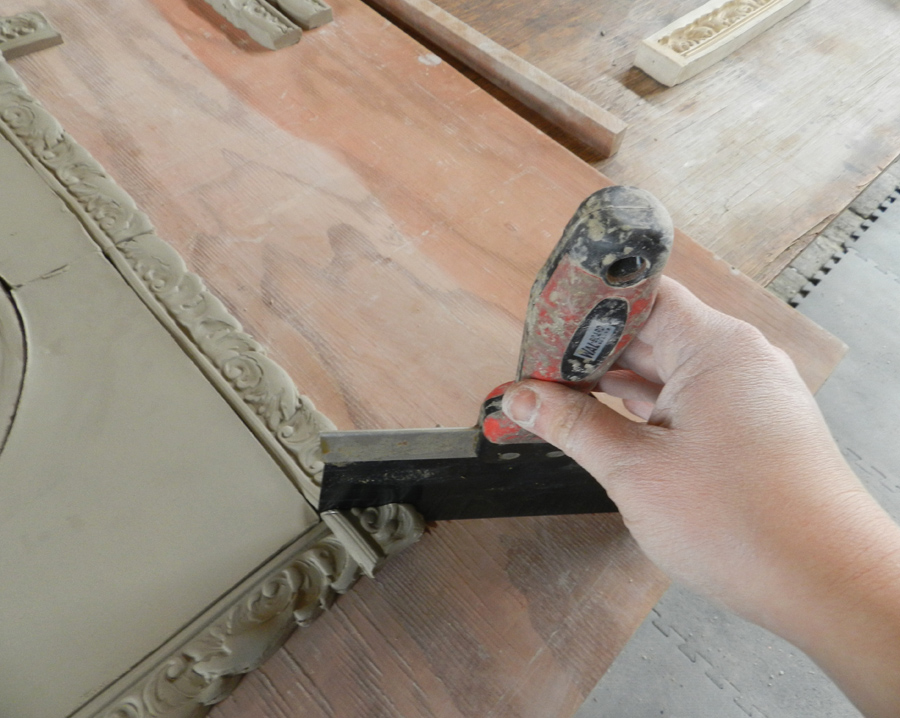
Step 5: Build the Frame/Moldings. Moldings are made from castings of antique picture frames and moldings, and are also hand-pressed.
Step 6: Finished mural dries slowly in the studio. When the clay is dry, every edge will be smoothed with a sponge, then all pieces fired in the kiln; what is called a 'bisque' firing. This takes two days, and fires to 1945 degrees.
Next Steps: After the Bisque firing, the tiles are hand-glazed by dipping into or pouring the glaze over tiles, the backs of each piece cleaned of glaze, then fired a second time to 2100 degrees. This melts the glaze and fuses it onto the tiles. More to come about glaze...


